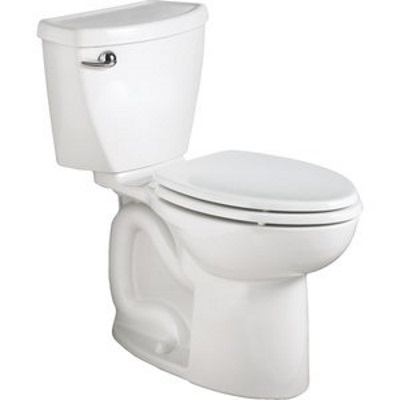

Is it time to install a new toilet or simply reset the old one following a remodel? By completing these DIY steps, you can replace your toilet without flushing a lot of money down the drain for a plumber. Turn off the water to your toilet and let’s get going.
SIZE IT UP.
Measure the size of your current toilet. Depending upon your model, the waste pipe for the toilet will be about 12 inches from the wall. Measure from the wall to the bolts holding down the toilet; if that measurement isn’t around 12 inches, you will have to special order a toilet. Determine if your toilet is a standard bowl or an elongated model. Measure from the toilet bowl to any surrounding door or cabinet that may prevent you from changing the size.
UNSCREW IT.
Remove the bolts holding the toilet in place. Due to years of corrosion, the bolts may be welded in place and require the use of locking pliers and a hacksaw blade.
SECURE THE FLANGE.
To ensure a leak-free toilet, secure the flange to the floor. If the flange is loose or it gets damaged, your toilet will rock, eventually breaking the wax ring and causing leaks. An ear-type flange ring may be needed if the subfloor is soft. Any decayed subflooring will need to be replaced.
SEAT THE TOILET.
Seating the toilet simply means you are squishing the wax ring until the toilet settles to the floor. Sit back on the toilet with your weight centered over the wax ring. Wiggle around until the toilet settles then secure it with bolt nuts.
SEAL THE CONNECTIONS.
Using a flexible water supply line, screw on and seal the connectors. Be careful not to overtighten which might cause leaks.
SNIP THE BOLTS.
Once you have checked for leaks, protruding bolts need to be cut. Use a hacksaw to cut these bolts after installation. After your cut, double-check the bolts for tightness since cutting can loosen the nuts slightly.
In just a few moments, you can switch out your toilet. If you feel it is too complicated, hire a plumber to get the job done.
©2026 HOLMES BUILDING MATERIALS