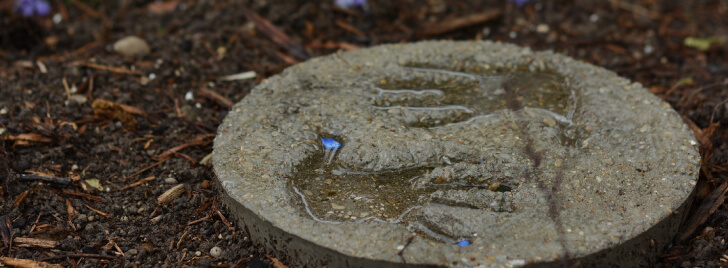

Think of stepping stones as accessories for your yard. Embellishments and designs can add flair, while particular shapes and sizes can be more practical. Use this guide to create your own custom stepping stones.
1. Prep the Materials
Purchase or improvise a mold in whatever shape and size you desire. You’ll also need non-stick cooking spray, concrete, a bucket, a paint mixing stick and any embellishments or tools to release your creativity.
2. Pour the Concrete
Coat the mold with cooking spray. Mix the concrete according to package directions and pour it into the mold, leaving a little bit of room at the top. Tap out any air bubbles, then let it sit for about 30 minutes.
3. Decorate the Stones
Get creative and try out different techniques. Use leaves or other textured objects to make an imprint. Place children’s hands or feet in the mix to create a project to cherish. Push rocks, shells or marbles into the concrete to form a mosaic.
4. Finish the Project
Let the stone dry for a few days on a level surface, and you’re ready to rock. To prevent tripping, dig a few inches into the dirt, then plant your stone so that it rises just slightly above ground.
©2026 HOLMES BUILDING MATERIALS